方法一:Windows设置
要想关闭Win10自动更新,比较简单的一种方法就是进入到Windows设置中,将Windows更新直接关闭。步骤如下:
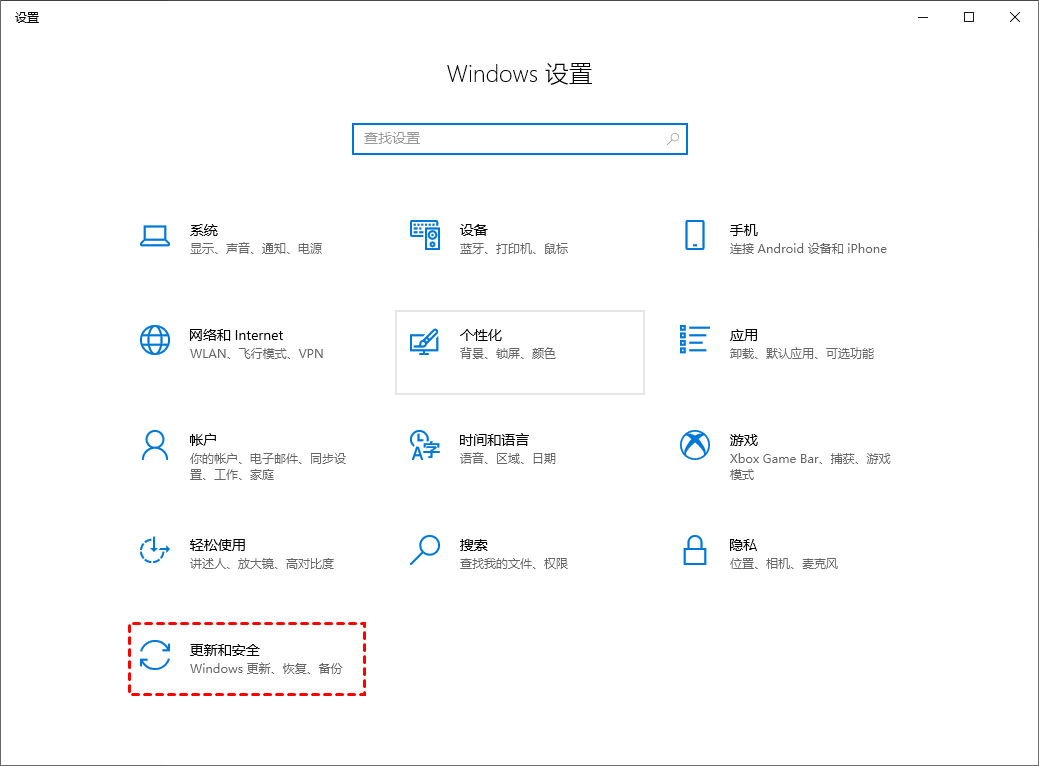
1、按“Windows + I”键,打开Windows设置,再单击“更新和安全”。
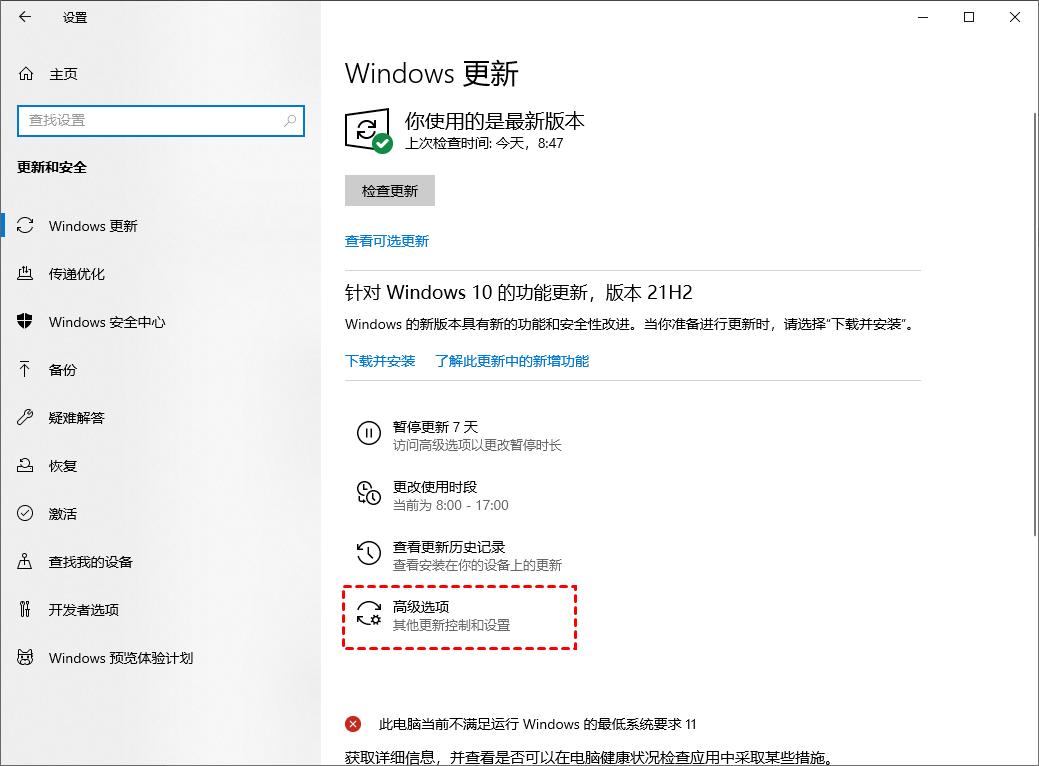
2、然后,在Windows更新处,单击“高级选项”。
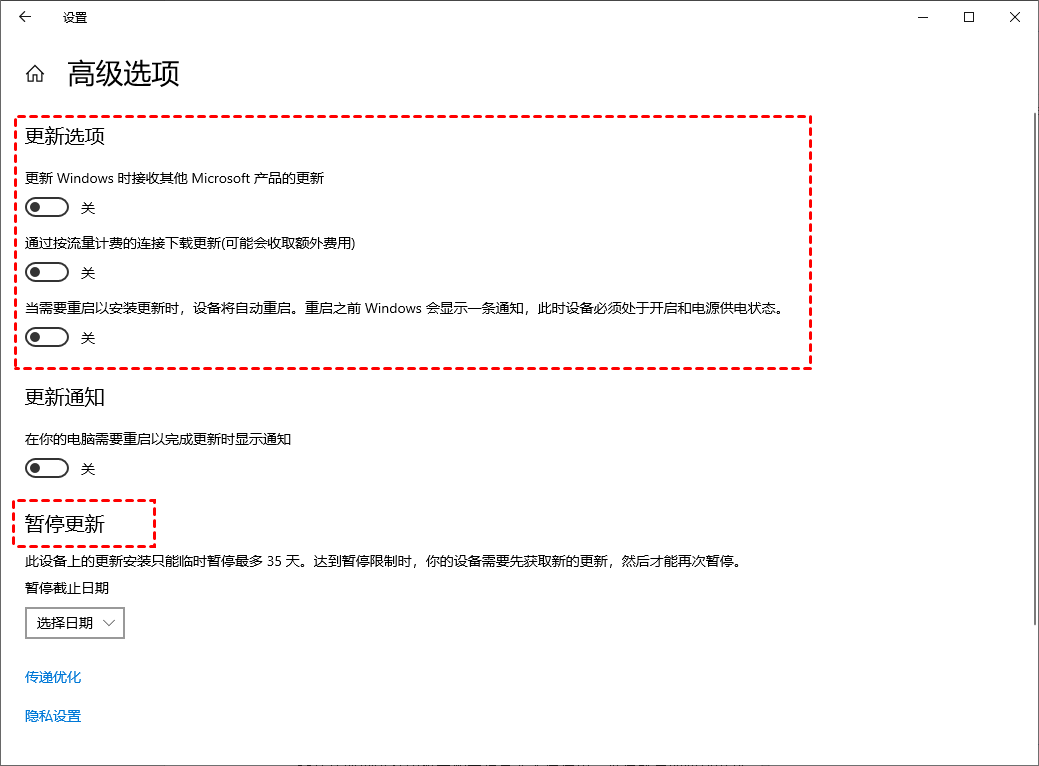
3、在高级选项中,您可以将“更新选项”中项目全部关闭,或者选择“暂停更新”,但此暂停更新至多只能暂停35天,达到暂停限制后需先获取新的更新,然后才能再次暂停更新。
方法二:关闭Windows Update服务
若您想彻底关闭Win10自动更新,可以在Windows服务中找到Windows Update选项将其设置为禁用即可。您可以按照以下步骤进行操作。
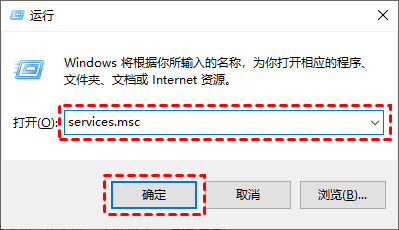
1、按“Windows + R”键,打开运行对话框,并输入“services.msc”,然后再单击“确定”。
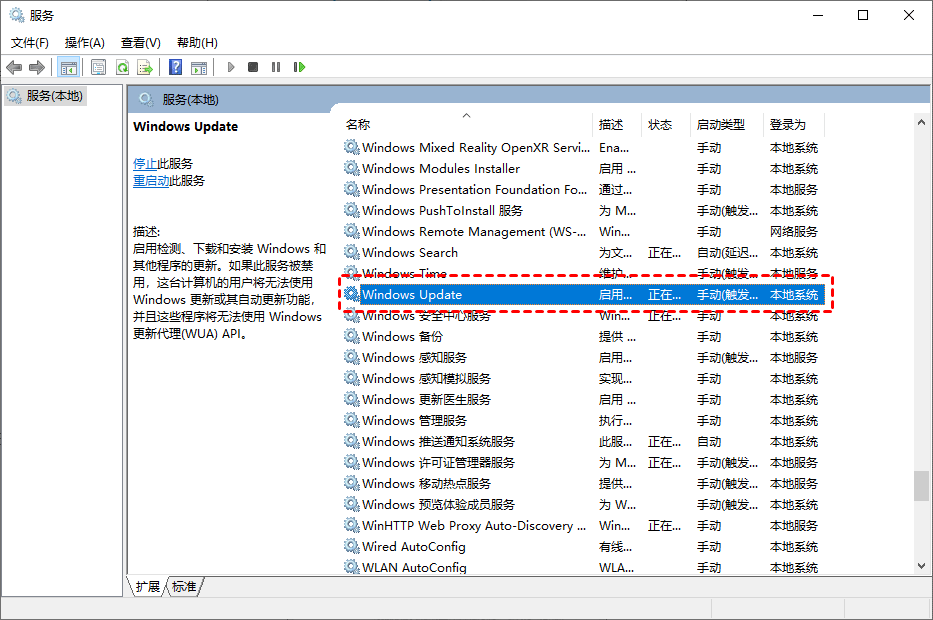
2、在弹出的服务窗口中,找到“Windows Update”选项并双击打开它。
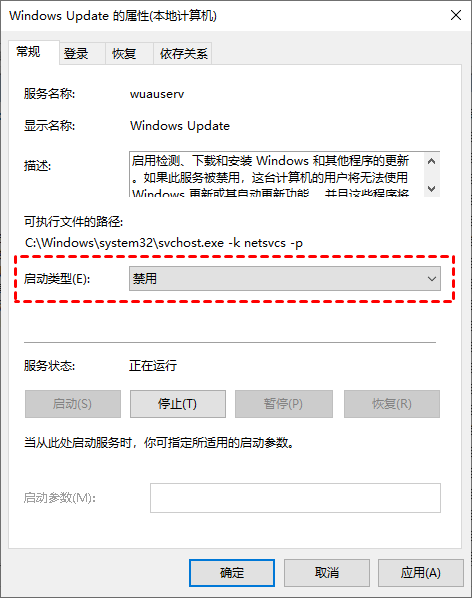
3、在弹出的“Windows Update的属性”对话框中,将“启动类型”设置为“禁用”。
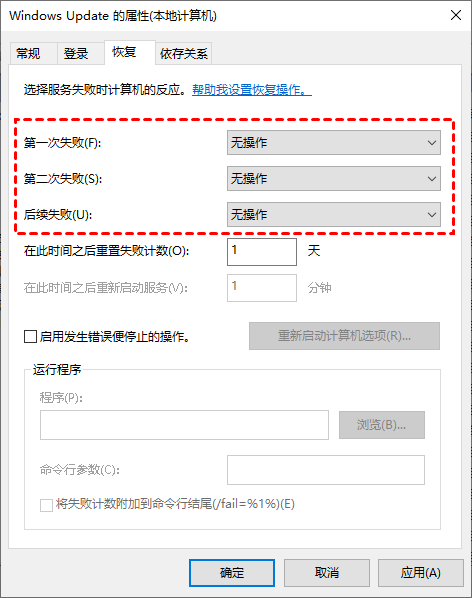
4、然后再单击“恢复”,将图中框选的部分都设置为“无操作”,再单击“应用”和“确定”。
方法三:本地组策略编辑器
另一种Win10关闭自动更新方法就是通过更改本地组策略编辑器中的“配置自动更新”和“删除使用所有Windows更新功能的访问权限”选项来关闭Win10自动更新。
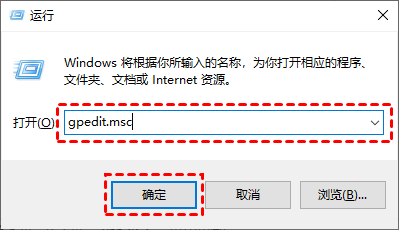
1、按“Windows + R”键,打开运行对话框,并输入“gpedit.msc”,然后再单击“确定”。
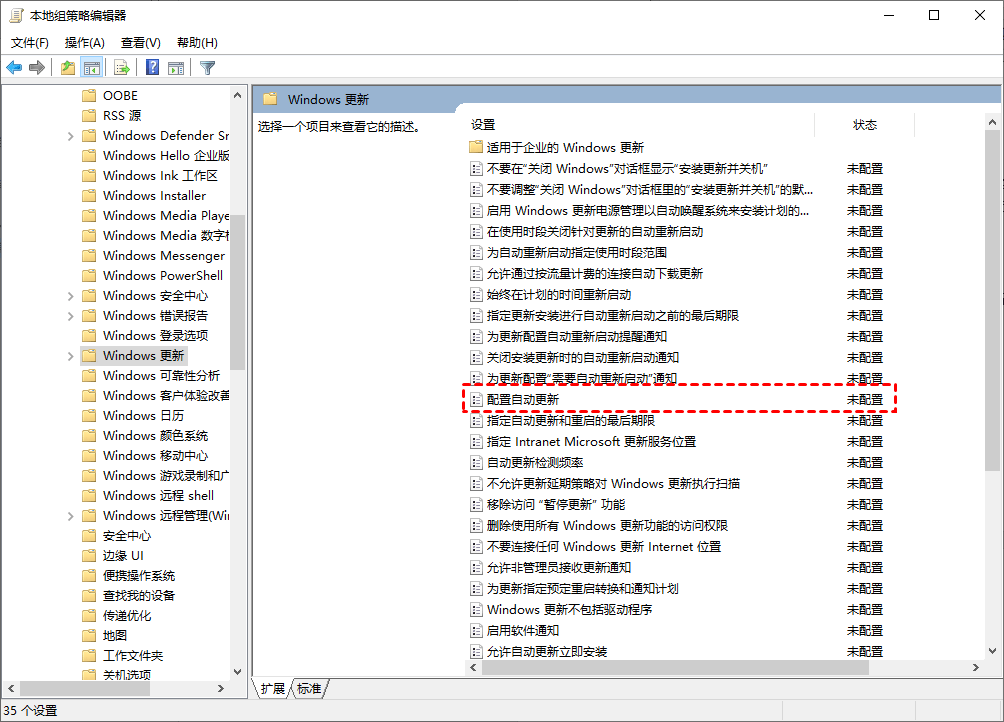
2、在弹出的本地组策略编辑中,依次单击“计算机配置” > “管理模板” > “Windows组件” > “Windows更新”,然后找到“配置自动更新”并双击打开它。
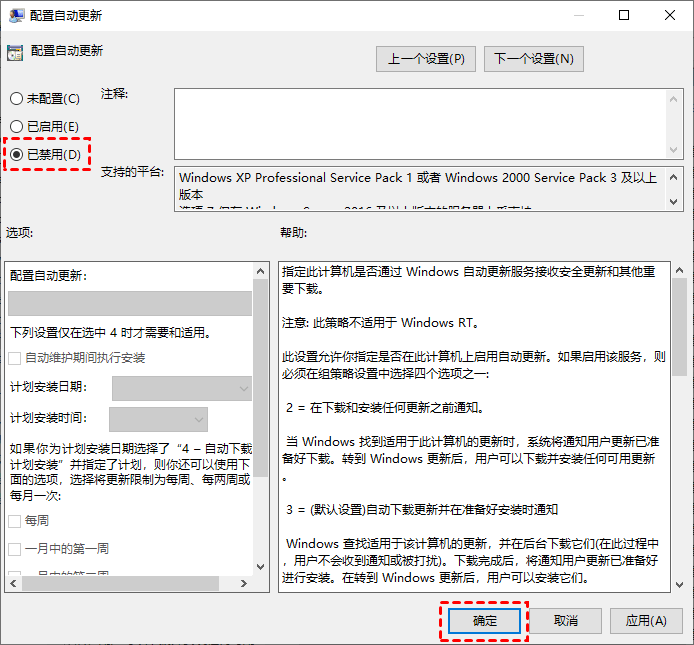
3、在弹出的“配置自动更新”窗口中,选择“已禁用”,再单击“确定”。
4、然后在“Windows更新”页面找到“删除使用所有Windows更新功能的访问权限”,并双击打开它。

5、在弹出的窗口中,再勾选“已启用”,然后单击“确定”。
方法四:任务计划程序
您也可以通过任务计划程序,将“Schedule Start”禁用,以实现Win10自动更新的关闭。
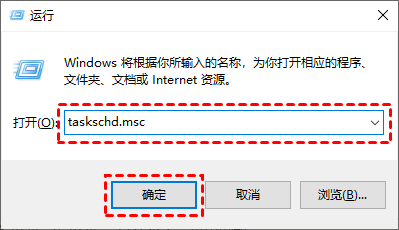
1、按“Windows + R”键,打开运行对话框,并输入“taskschd.msc”,然后再单击“确定”。
2、在任务计划程序窗口中,跳转到该路径“任务计划程序库/Microsoft/Windows/WindowsUpdate”。
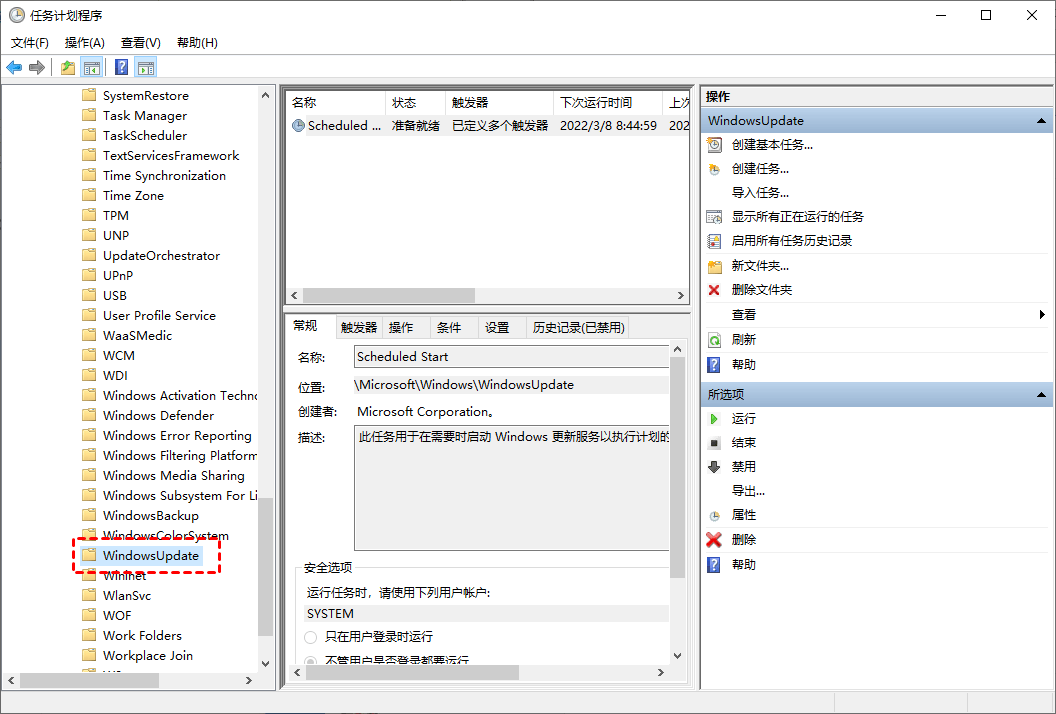
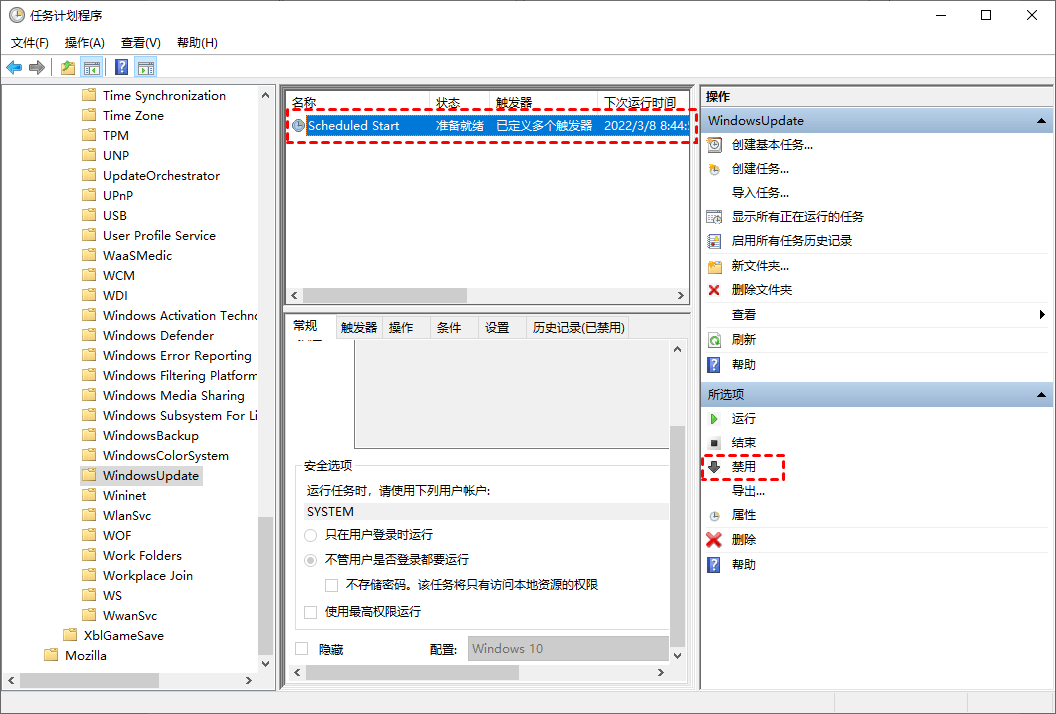
3、然后,选中“Schedule Start”,并在“所选项”中单击“禁用”。
方法五:注册表编辑器
还有一种Win10关闭自动更新方法就是通过注册表编辑器,来彻底关闭Win10自动更新。具体操作步骤如下:
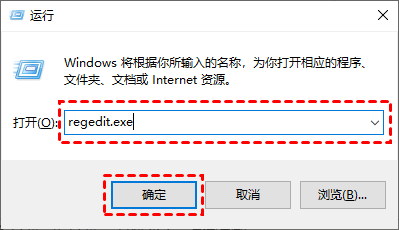
1、按“Windows + R”键,打开运行对话框,并输入“regedit.exe”,然后再单击“确定”,在弹出的窗口中再点击“是”。
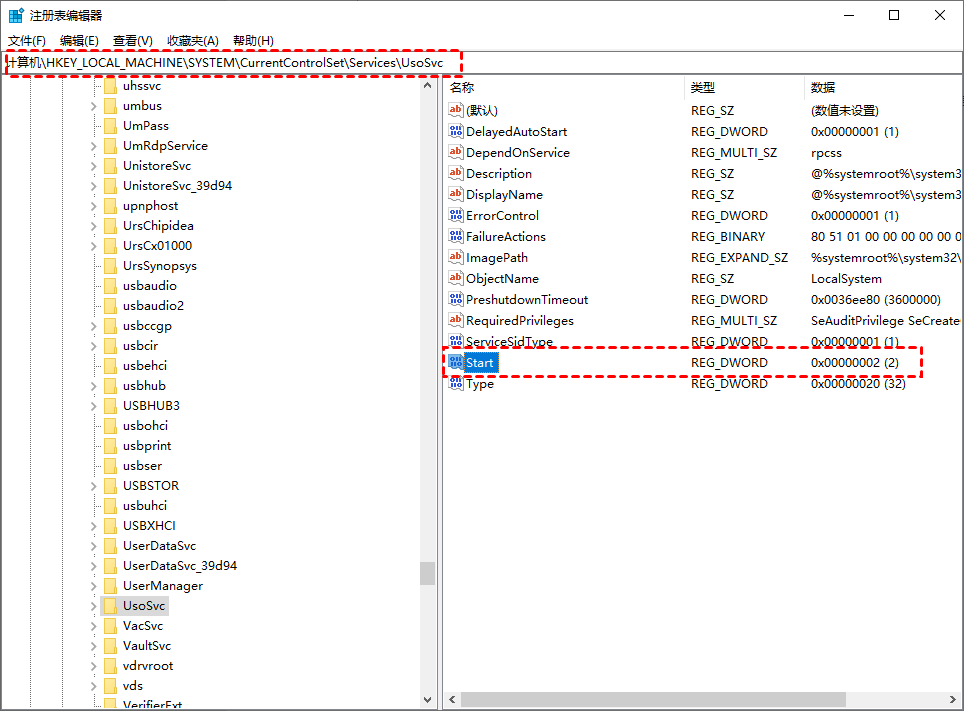
2、进入注册表编辑器后,跳转到以下路径,并在右侧找到“Start”键并双击打开它。
路径:HKEY_LOCAL_MACHINE\SYSTEM\CurrentControlSet\Services\UsoSvc
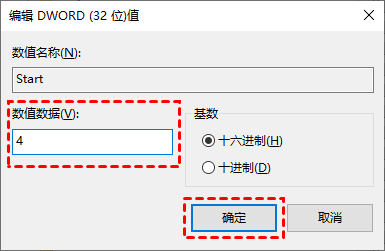
3、在弹出的窗口中将“数值数据”改为“4”,并单击“确定”。
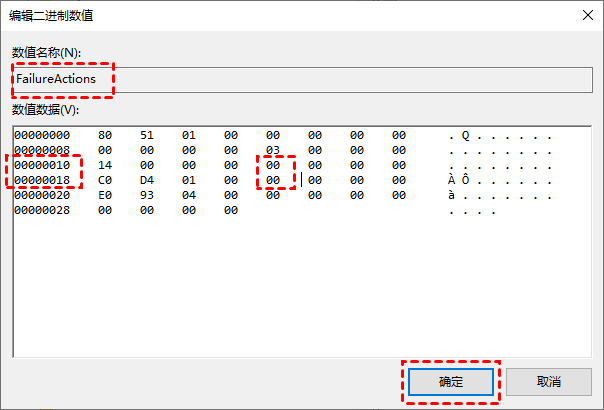
4、然后再找到“FailureActions”键并双击进行编辑,将“00000010”和“00000018”行中的第五个数值,由原来的“01”改为“00”,再单击“确定”。